Building A False Beam : Make sure your hands are clear of the area where you are nailing!
byAdmin•
0
Building A False Beam : Make sure your hands are clear of the area where you are nailing!. I know i reference instagram here on the blog pretty often, but that's where i generally share more of our day to day routine in my stories, including diy projects that i'm working on at the time. We mitered 3 of the nine pieces of 1 by 6 on both sides at a 45 degree angle. This is a good starting point to see how the basic structure of our header will come together. In this step by step tutorial, i'm going to demonstrate how to build a rustic faux beam mantel. For simplicity's sake we will plan on building a beam that is 5 1/2 inches wide and eight feet long.
When we talk about those projects, we often refer to how the designers glued certain pieces together to achieve the final look. You will cut three sides to create a box that wraps around the header opening to give the illusion of a floating beam. In this video i'll walk you through the process on how i make authentic looking faux barn beams. Usually ships within 2 to 3 weeks. Finally, the faux beams post so many of you have been waiting for!
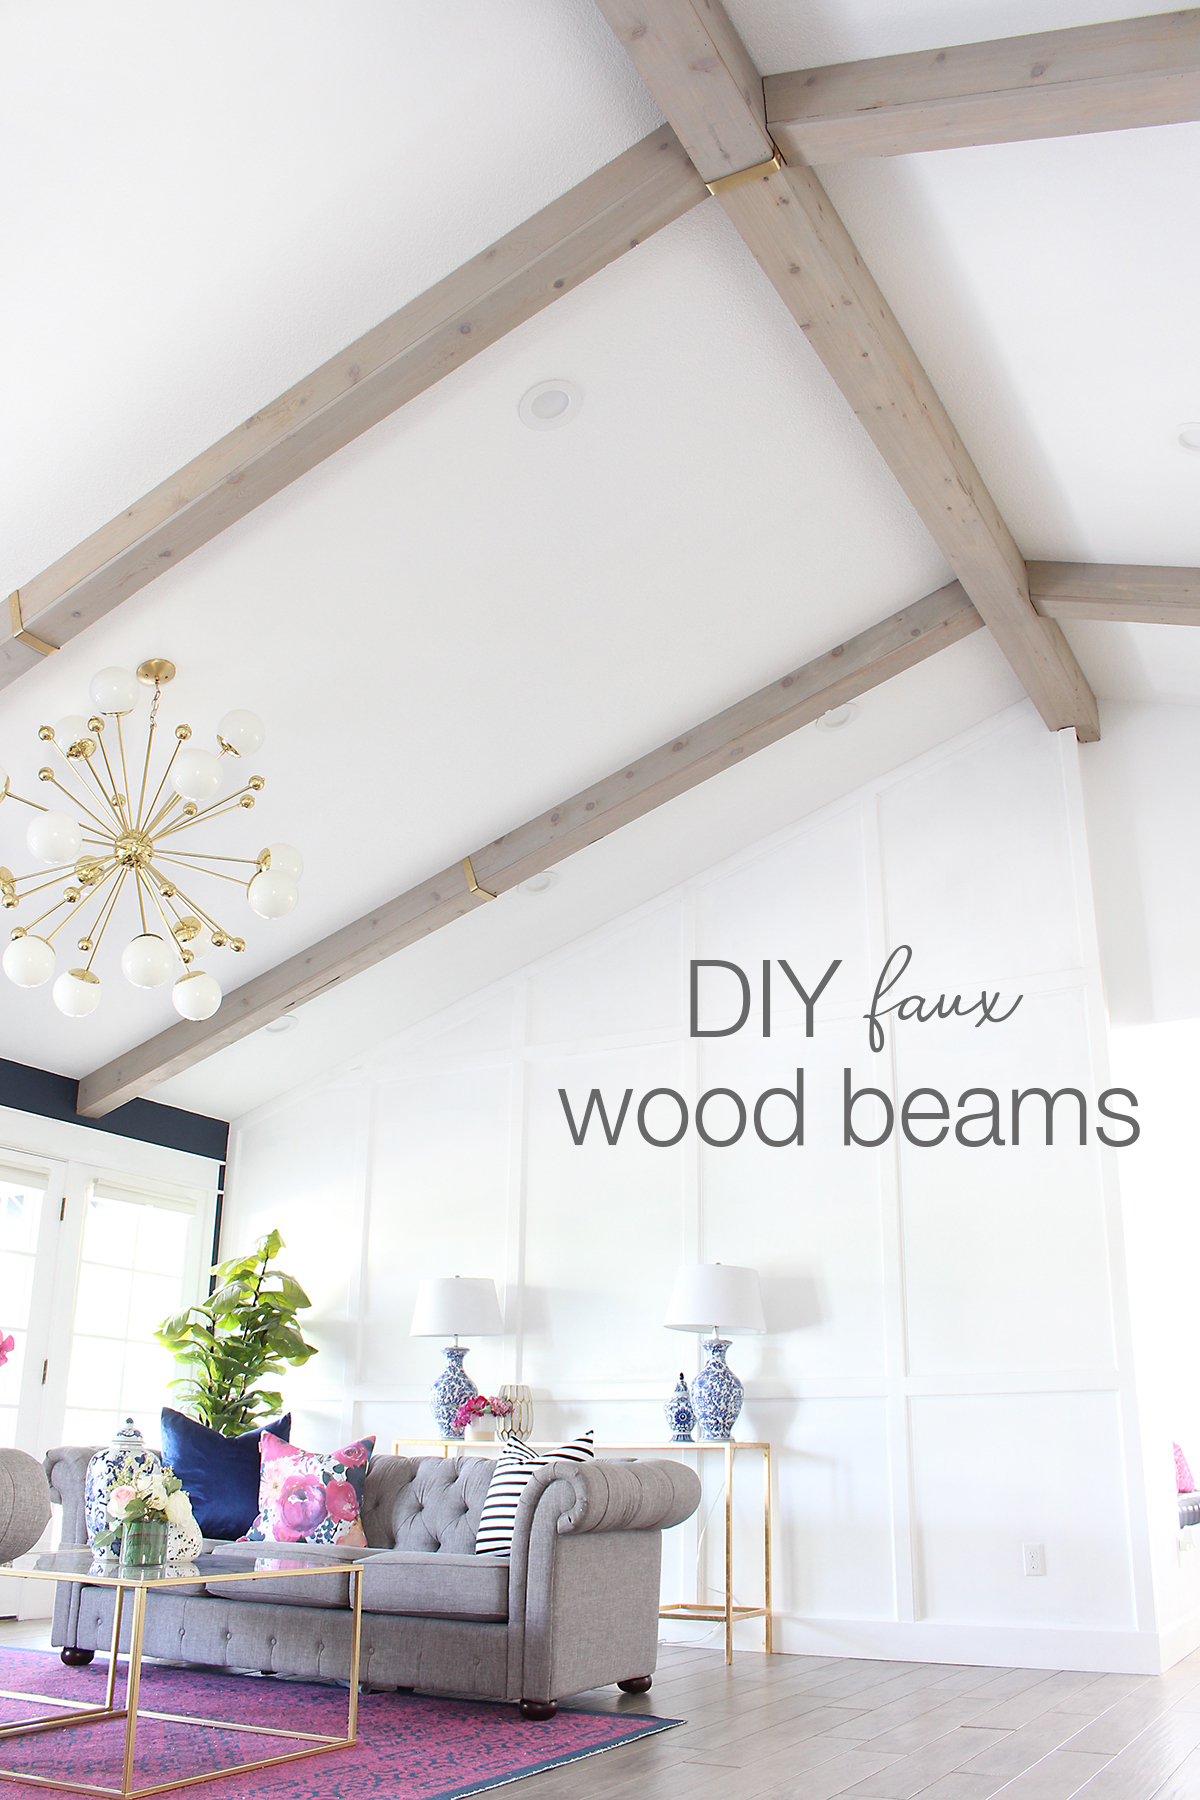
The Best And Easiest Diy Faux Wood Beams To Make Yourself Twelve On Main from www.twelveonmain.com Repeat for the length of your room and other beams desired. This will create the real look of a beam. For instance, you can create an accent wall using thick beams of faux wood. Lightly sand and wipe your beams. I love interacting with my readers over there, getting feedback and sharing budget friendly decorating tips. So, real wood beams that were pretty and perfect all on. Stand two other boards vertically along the edge of the flat board and attach with a nail gun (put in a brad nail about every 6″ to ensure your beam stays together). Medium oak modern faux wood beam
For instance, you can create an accent wall using thick beams of faux wood.
The foam will be inexpensive and very lightweight, making it simple to install. Make sure your hands are clear of the area where you are nailing! This is a good starting point to see how the basic structure of our header will come together. Once you have a layout you like, the first step is to attach a dimension lumber nailer at each beam location. We then mitered 3 with the left side being cut at 45 degree angle and then the other three mitered on the right side. The process of making a faux beam can be very simple and this tutorial will show you how you can achieve it. Check out our photo gallery or some of our past blog posts and you'll see some amazing creations built using our faux beams. You will cut three sides to create a box that wraps around the header opening to give the illusion of a floating beam. I know i reference instagram here on the blog pretty often, but that's where i generally share more of our day to day routine in my stories, including diy projects that i'm working on at the time. You can purchase faux beams at most home improvement retailers. Talk with your contractor on how you can make your walls pop using faux wood beams. When we talk about those projects, we often refer to how the designers glued certain pieces together to achieve the final look. Nail every 6 to 8.
The foam will be inexpensive and very lightweight, making it simple to install. They also are lightweight, which makes them easier to install than true wood beams. For simplicity's sake we will plan on building a beam that is 5 1/2 inches wide and eight feet long. Drive nails from below so that the top board doesn't move out of place. We then mitered 3 with the left side being cut at 45 degree angle and then the other three mitered on the right side.
The Result Of My Diy Faux Wood Beams Classy Clutter from www.classyclutter.net So, real wood beams that were pretty and perfect all on. Use the screws included in the packet, but make sure that they will not protrude through the other side of the board. As it always does, our renovation ran higher than we hoped and being thrifty is always a goal. One thought is to make the 8x16″ false beam sides out of 3/4″ poplar material, joining the random widths and lengths of the make up material with either pocket hole or biscuit methods to fabricate this large of beam sides (about 16′ long by 16″ wide for each beam side) and then finish the bottom with a made up beam cap out of the same material and method. Usually ships within 2 to 3 weeks. The foam will be inexpensive and very lightweight, making it simple to install. The idea is that you will create a box with no seams. Complete selection of faux wood beam textures & finishes.
To build a traditional faux wood beam, see my tutorial on how we added ceiling beams to the guest house.
Talk with your contractor on how you can make your walls pop using faux wood beams. You will cut three sides to create a box that wraps around the header opening to give the illusion of a floating beam. Lightly sand and wipe your beams. Drive the nails at an angle to prevent the boards from pulling apart. The open top of the beams will sit against the ceiling. (a longer beam will need longer boards.) If you want wider beams, choose wider nailers. I was able to add to my kitchen remodel with some reclaimed lumber from an ol. Use the screws included in the packet, but make sure that they will not protrude through the other side of the board. One thought is to make the 8x16″ false beam sides out of 3/4″ poplar material, joining the random widths and lengths of the make up material with either pocket hole or biscuit methods to fabricate this large of beam sides (about 16′ long by 16″ wide for each beam side) and then finish the bottom with a made up beam cap out of the same material and method. You can purchase faux beams at most home improvement retailers. Nail every 6 to 8. As it always does, our renovation ran higher than we hoped and being thrifty is always a goal.
How to build a rustic faux beam mantel. You will cut three sides to create a box that wraps around the header opening to give the illusion of a floating beam. When we talk about those projects, we often refer to how the designers glued certain pieces together to achieve the final look. I will show how i distressed the wood to give it an aged reclaimed look for a fraction of the cost of a real reclaimed beam. Usually ships within 3 to 4 weeks.
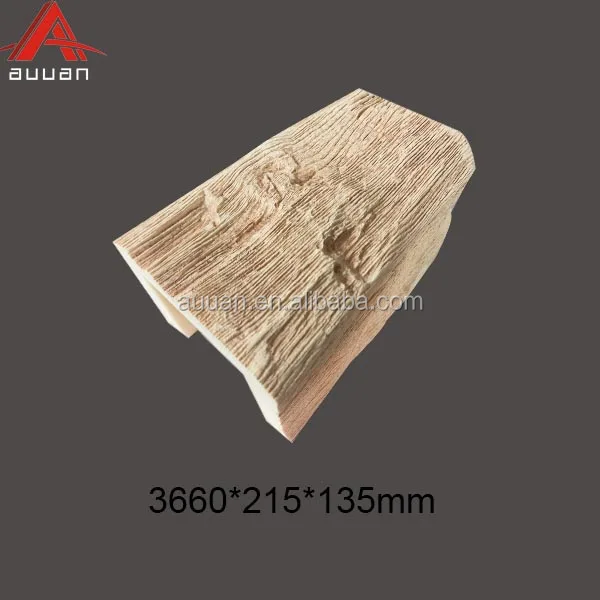
Building Material Foam Ceiling Beams Artificial Wood Beams False Beams For Sale Buy Foam Ceiling Beams Artificial Wood Beams False Beams Product On Alibaba Com from sc02.alicdn.com Lightly sand and wipe your beams. In this video i'll walk you through the process on how i make authentic looking faux barn beams. Easy diy wood mantel remington avenue decorate a beam or mantel with straps what are fire rated faux wood beams how to build a rustic faux beam mantel diy faux fireplace mantel. 2.4 out of 5 stars. They also are lightweight, which makes them easier to install than true wood beams. Once you have a layout you like, the first step is to attach a dimension lumber nailer at each beam location. The faux beams are typically made of a foam product that is finished to look like wood. They can even be a smooth continuation of ceiling beams, in effect creating an unbroken flow from the ceiling to the wall.
The idea is that you will create a box with no seams.
Nail every 6 to 8. The faux beams are typically made of a foam product that is finished to look like wood. I love the look of exposed wood beams and the little punch of rustic that they give. As it always does, our renovation ran higher than we hoped and being thrifty is always a goal. They are widely obtainable and available in hundreds of styles and textures. Medium oak modern faux wood beam This will create the real look of a beam. In this step by step tutorial, i'm going to demonstrate how to build a rustic faux beam mantel. I love interacting with my readers over there, getting feedback and sharing budget friendly decorating tips. Drive nails from below so that the top board doesn't move out of place. Stand two other boards vertically along the edge of the flat board and attach with a nail gun (put in a brad nail about every 6″ to ensure your beam stays together). One thought is to make the 8x16″ false beam sides out of 3/4″ poplar material, joining the random widths and lengths of the make up material with either pocket hole or biscuit methods to fabricate this large of beam sides (about 16′ long by 16″ wide for each beam side) and then finish the bottom with a made up beam cap out of the same material and method. However, before you can begin, you will need to create something to attach the faux beam to.